Running a Single Test
The smallest unit of testing in Bruno is a single request. The request itself tests the functionality of any given endpoint. You can add additional logic to requests by using theTests tab.
To manually trigger a single test:
- Open a Collection
- Select the Request that you would like to run
- Click Enter or press the send icon
- View the results in the
Testssection of the response pane
Running a Test Suite
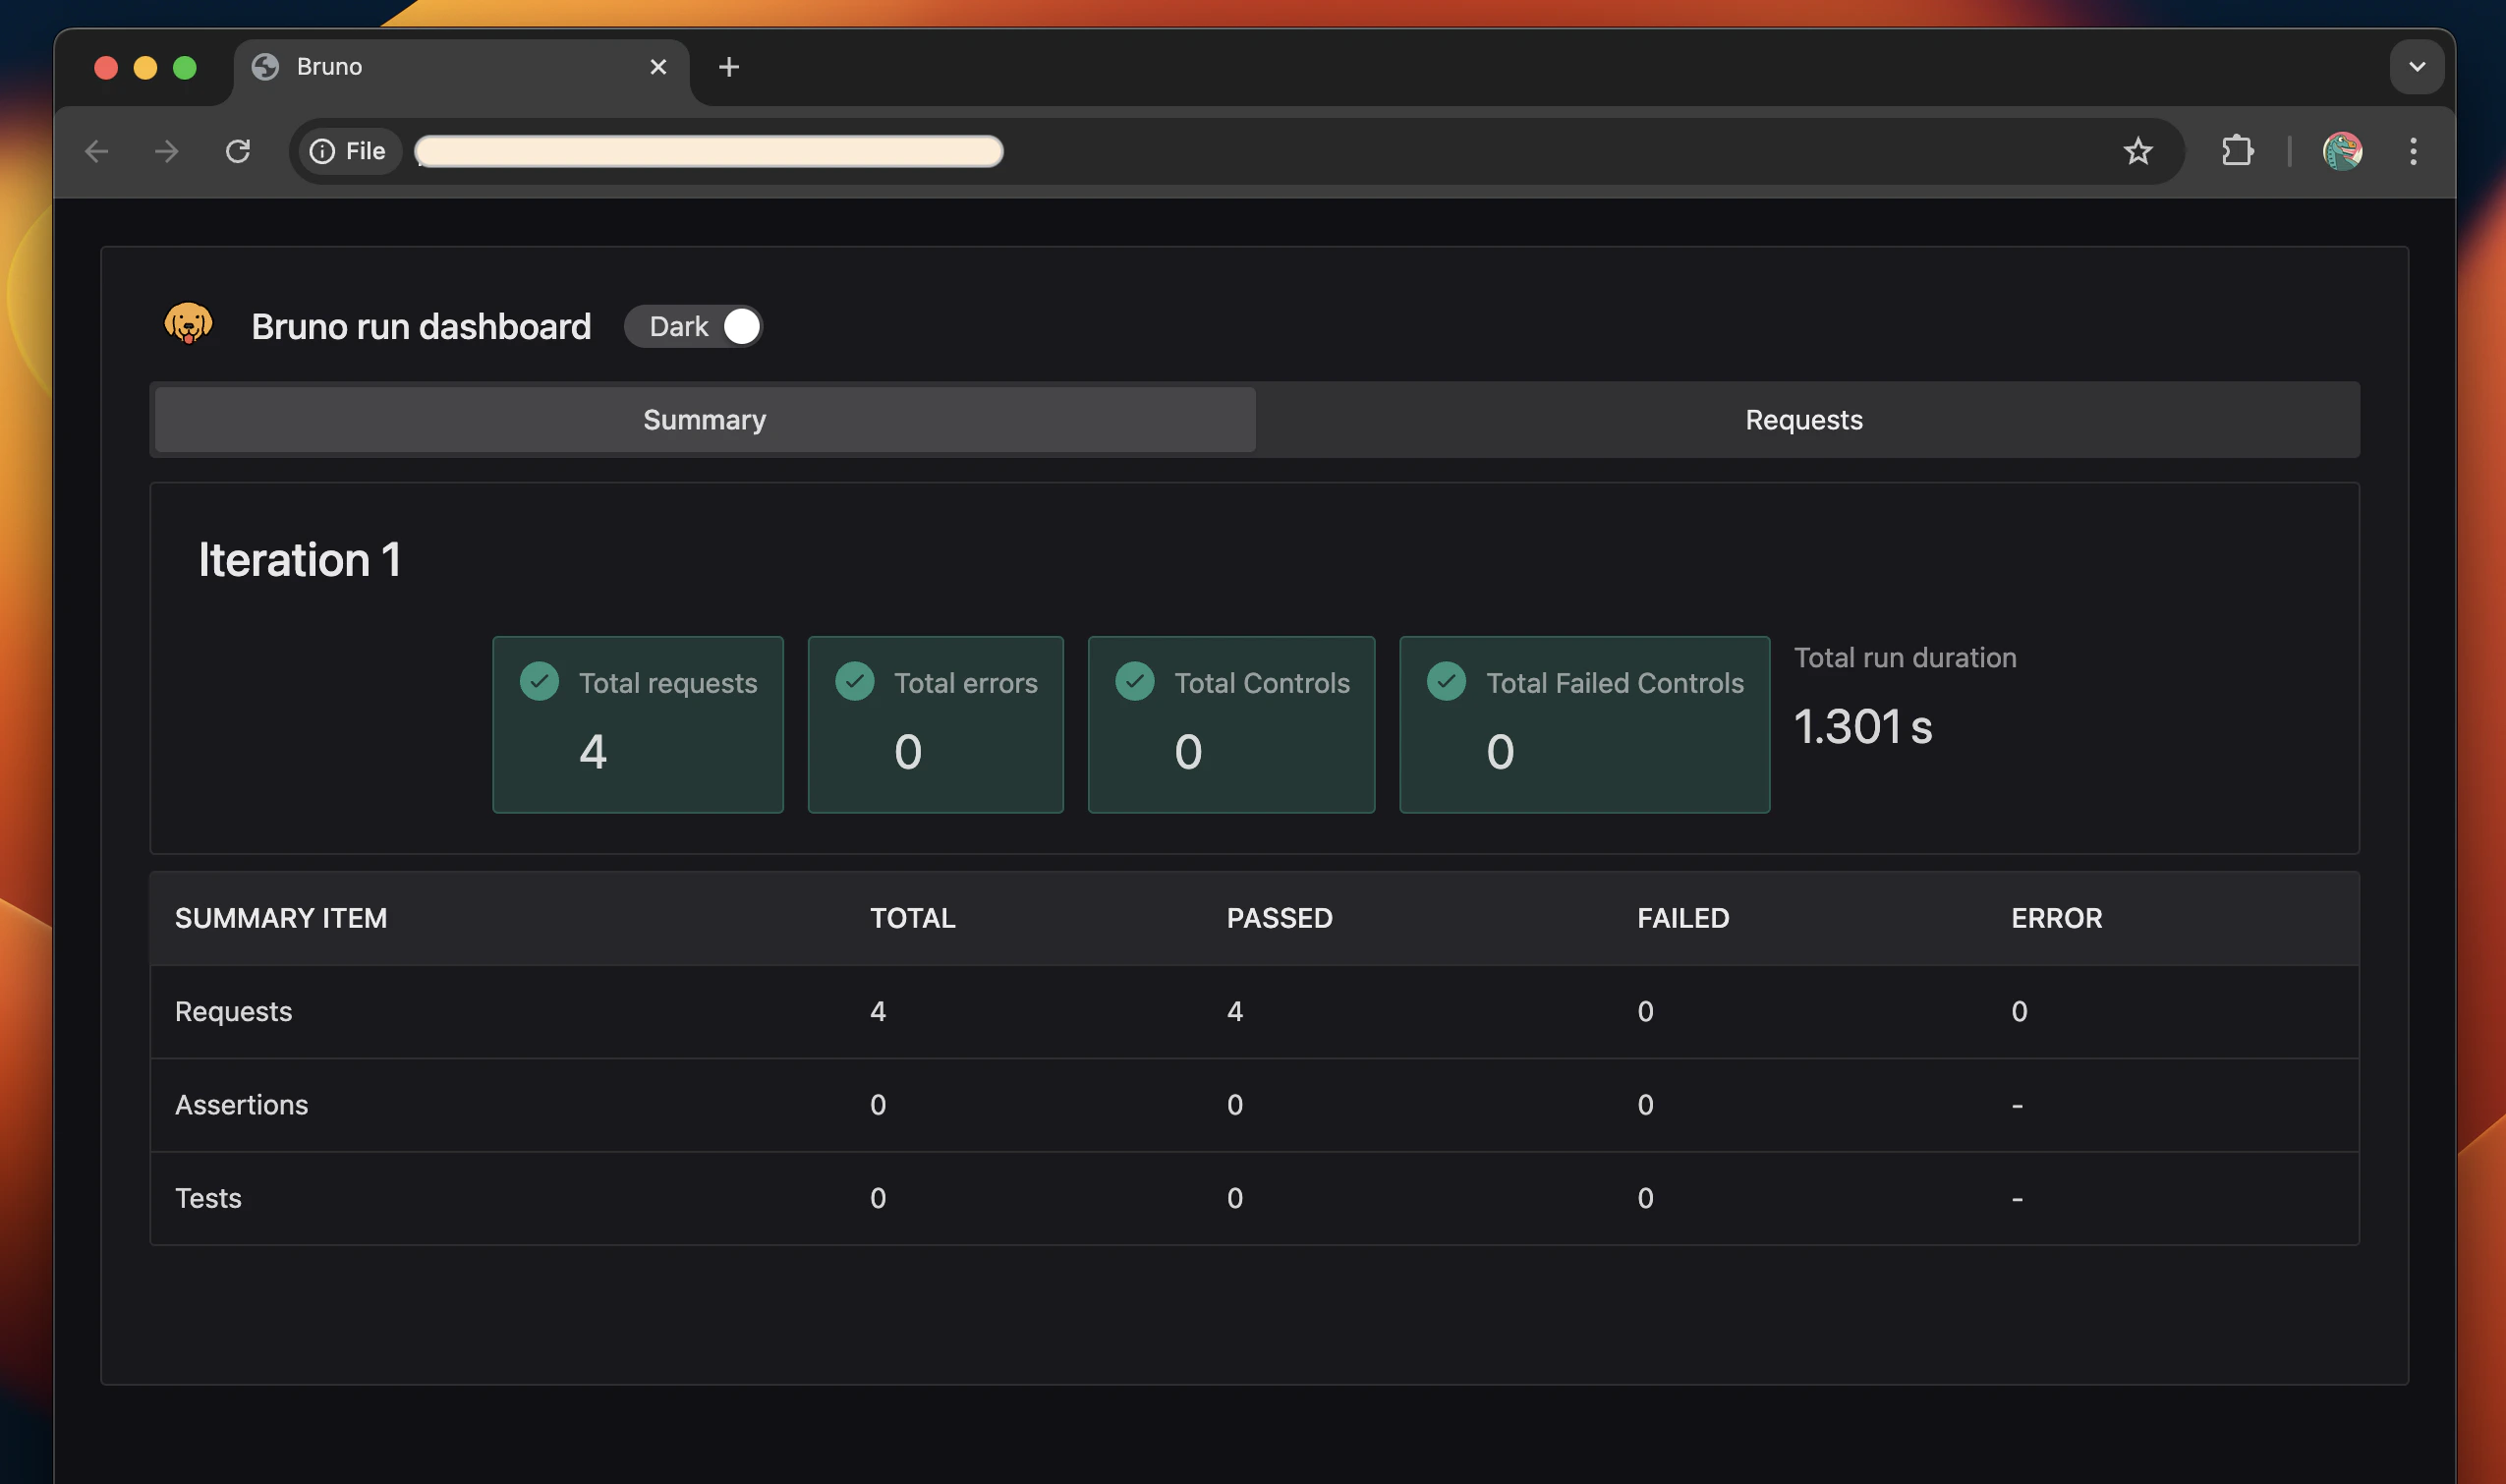
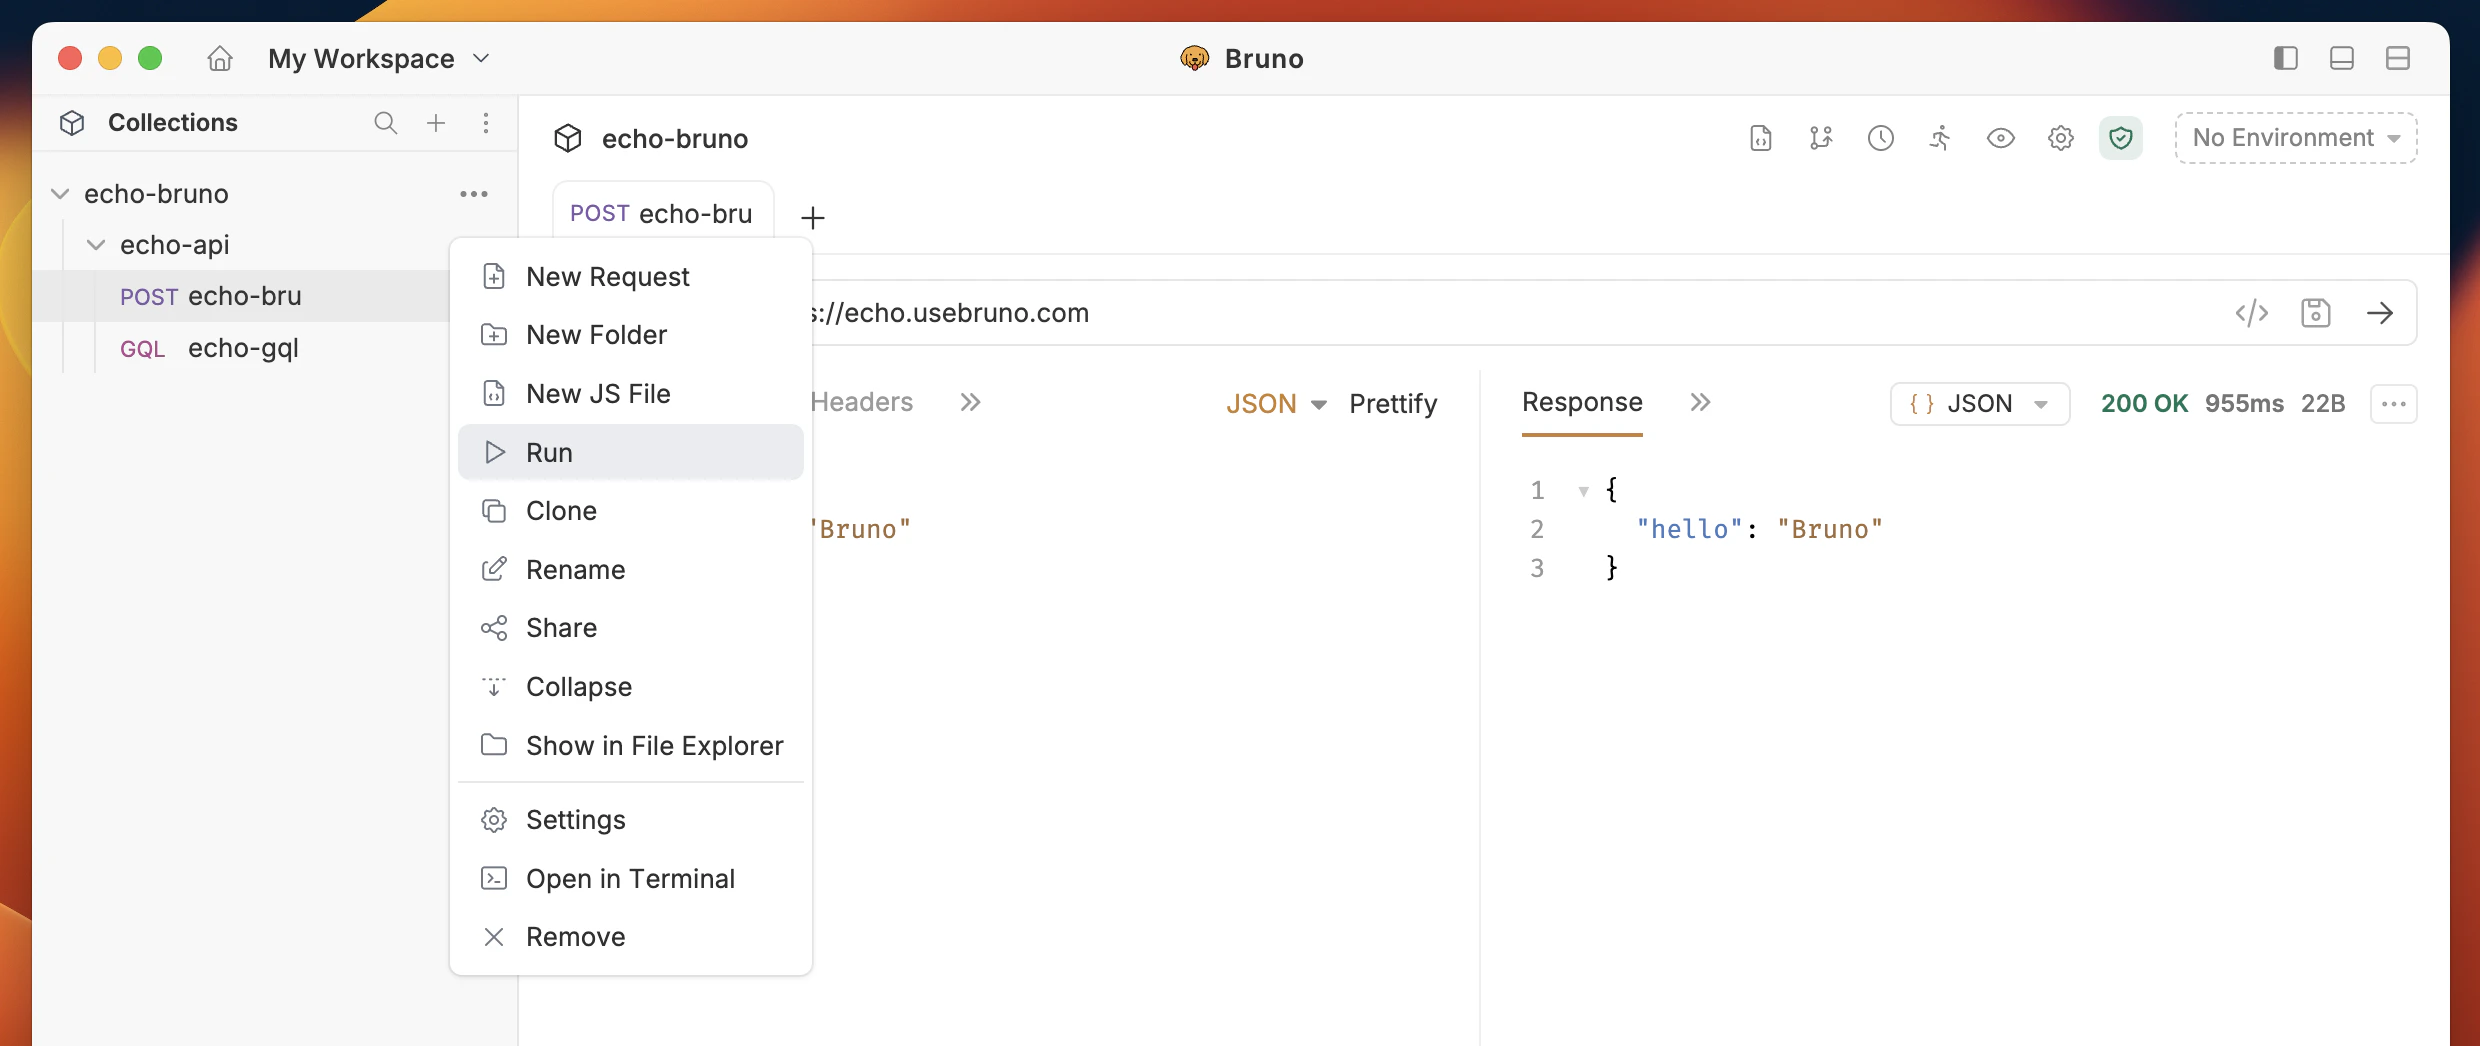
Often times a Bruno Collection can represent a test suite of different actions or workflows of an API. You can use the Collection Runner to execute this entire suite, and also iterate through data using data driven testing. Follow these steps to run your collection, view the results, and optionally download the test report as an HTML document.- Open the Bruno collection
- Click on the Run option from the dropdown menu.
- Click Run Collection to initiate the test.
- Once the test run is complete, a test report will be automatically generated.
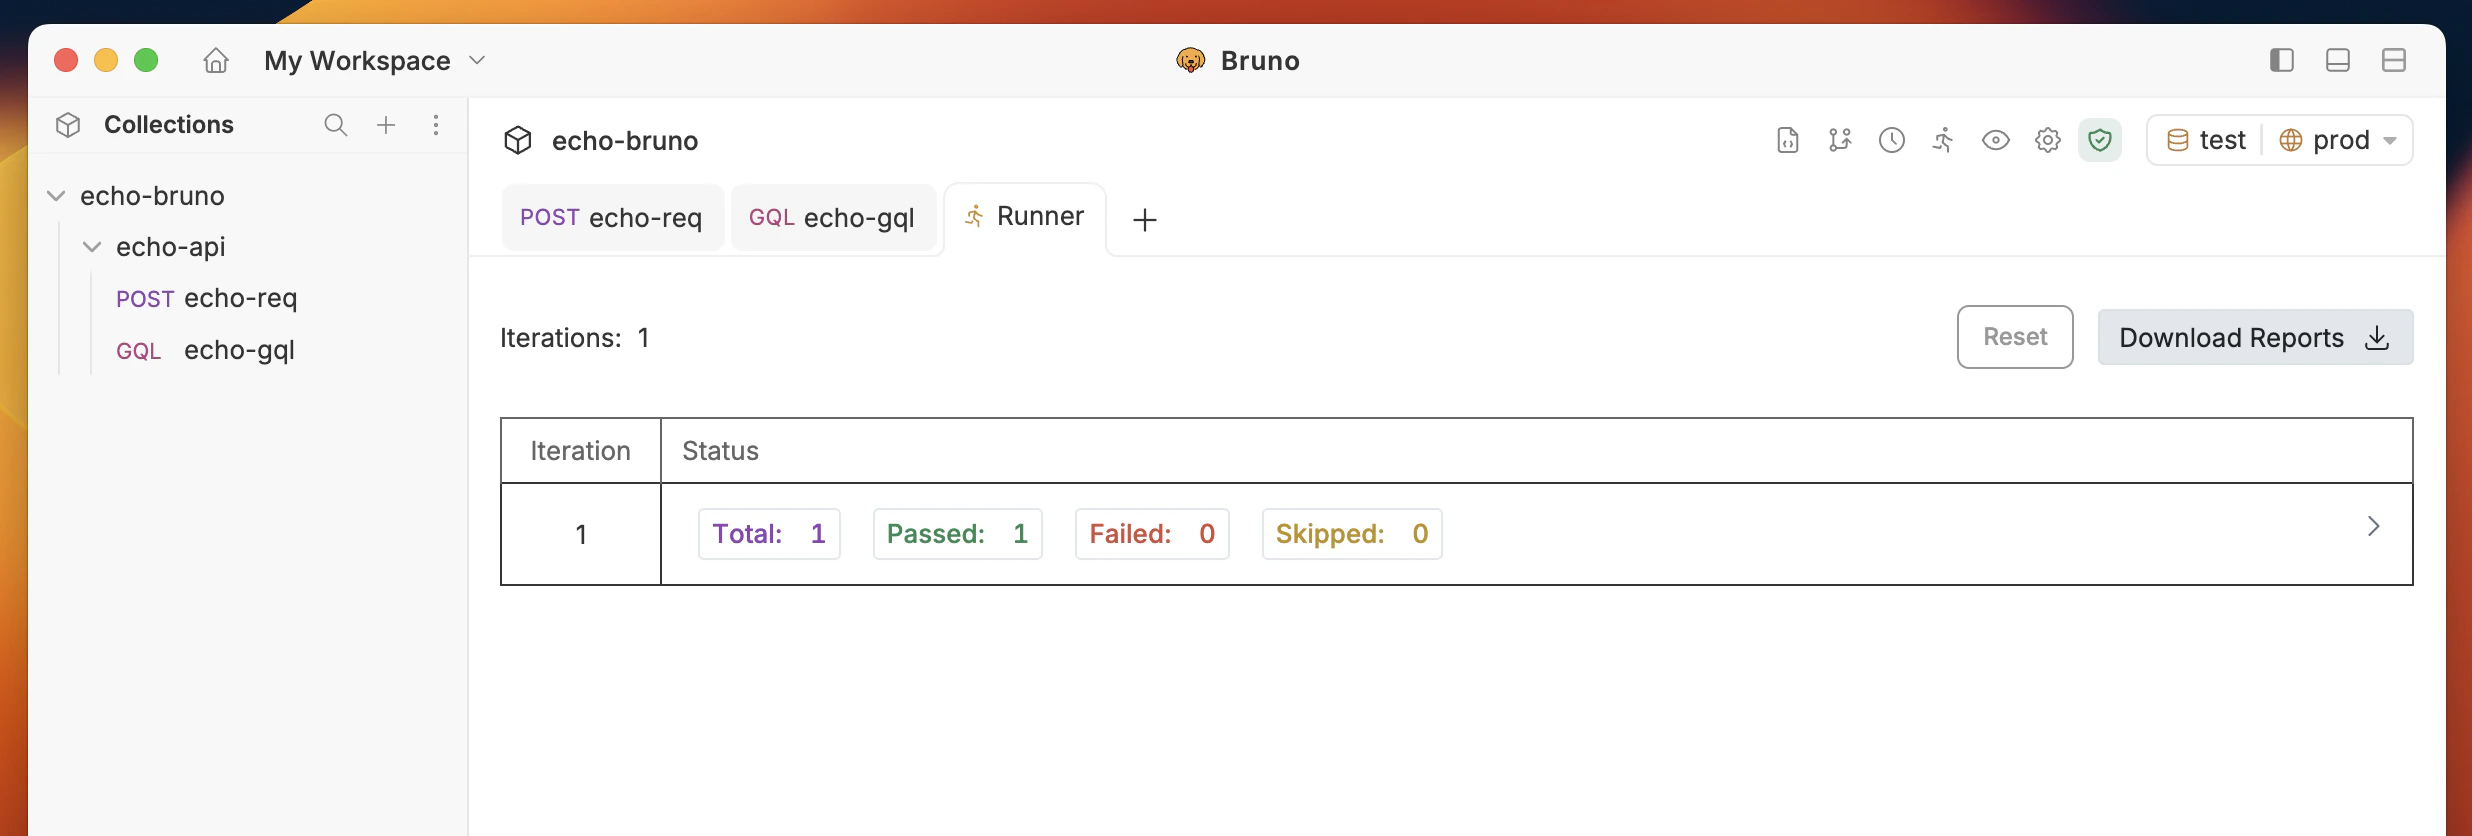
Download Test Report
After the test report is generated, you can download it as an HTML document (report.html).
- Click the Download Report button to save the report.
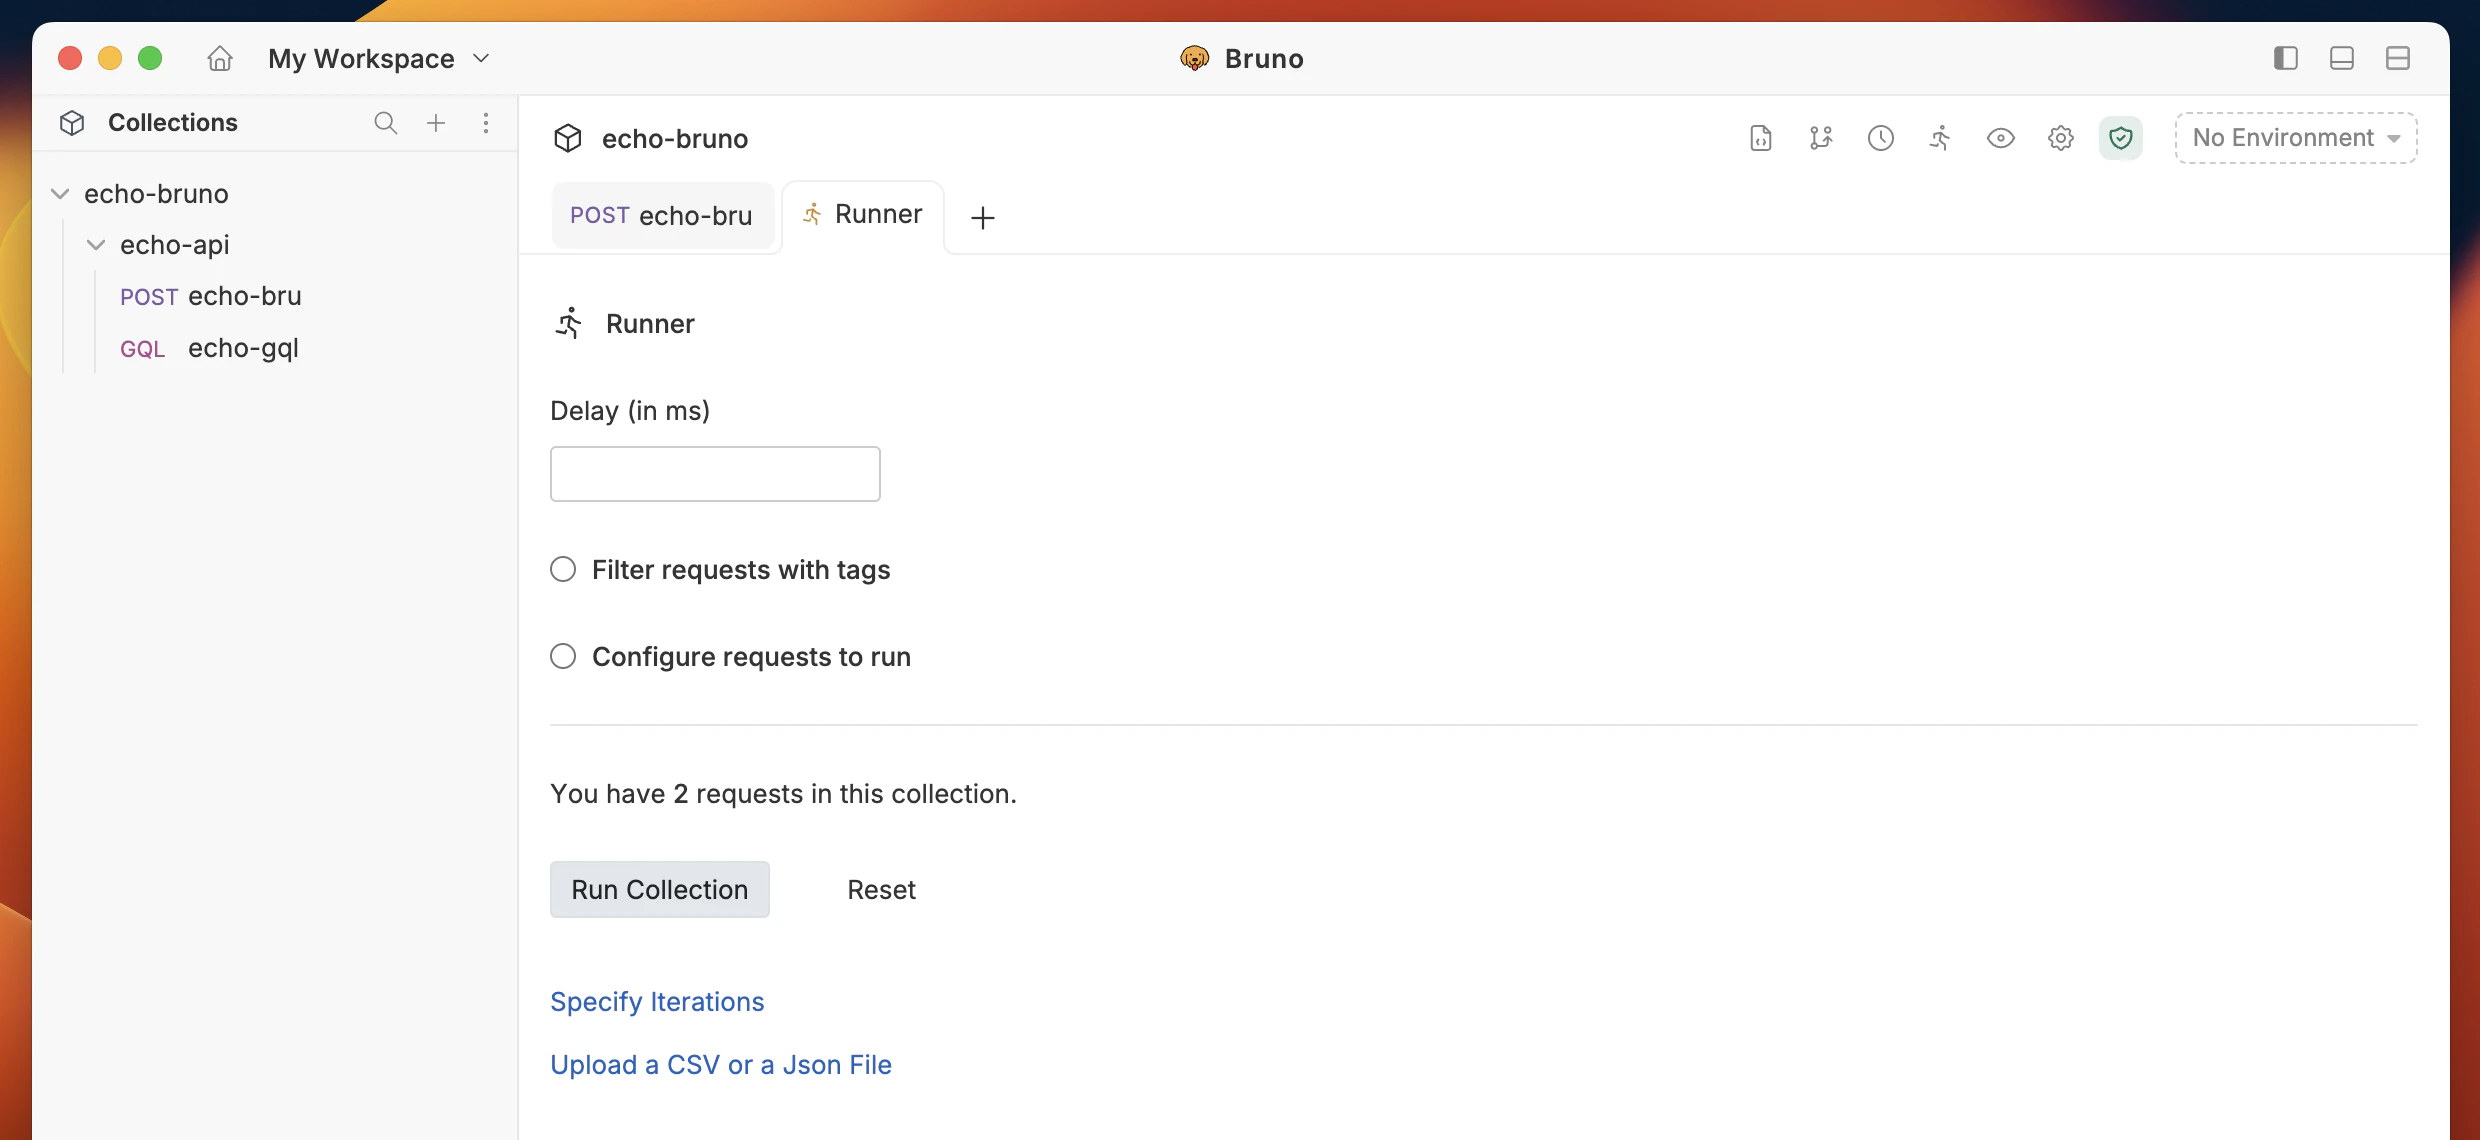
Configuring a collection run
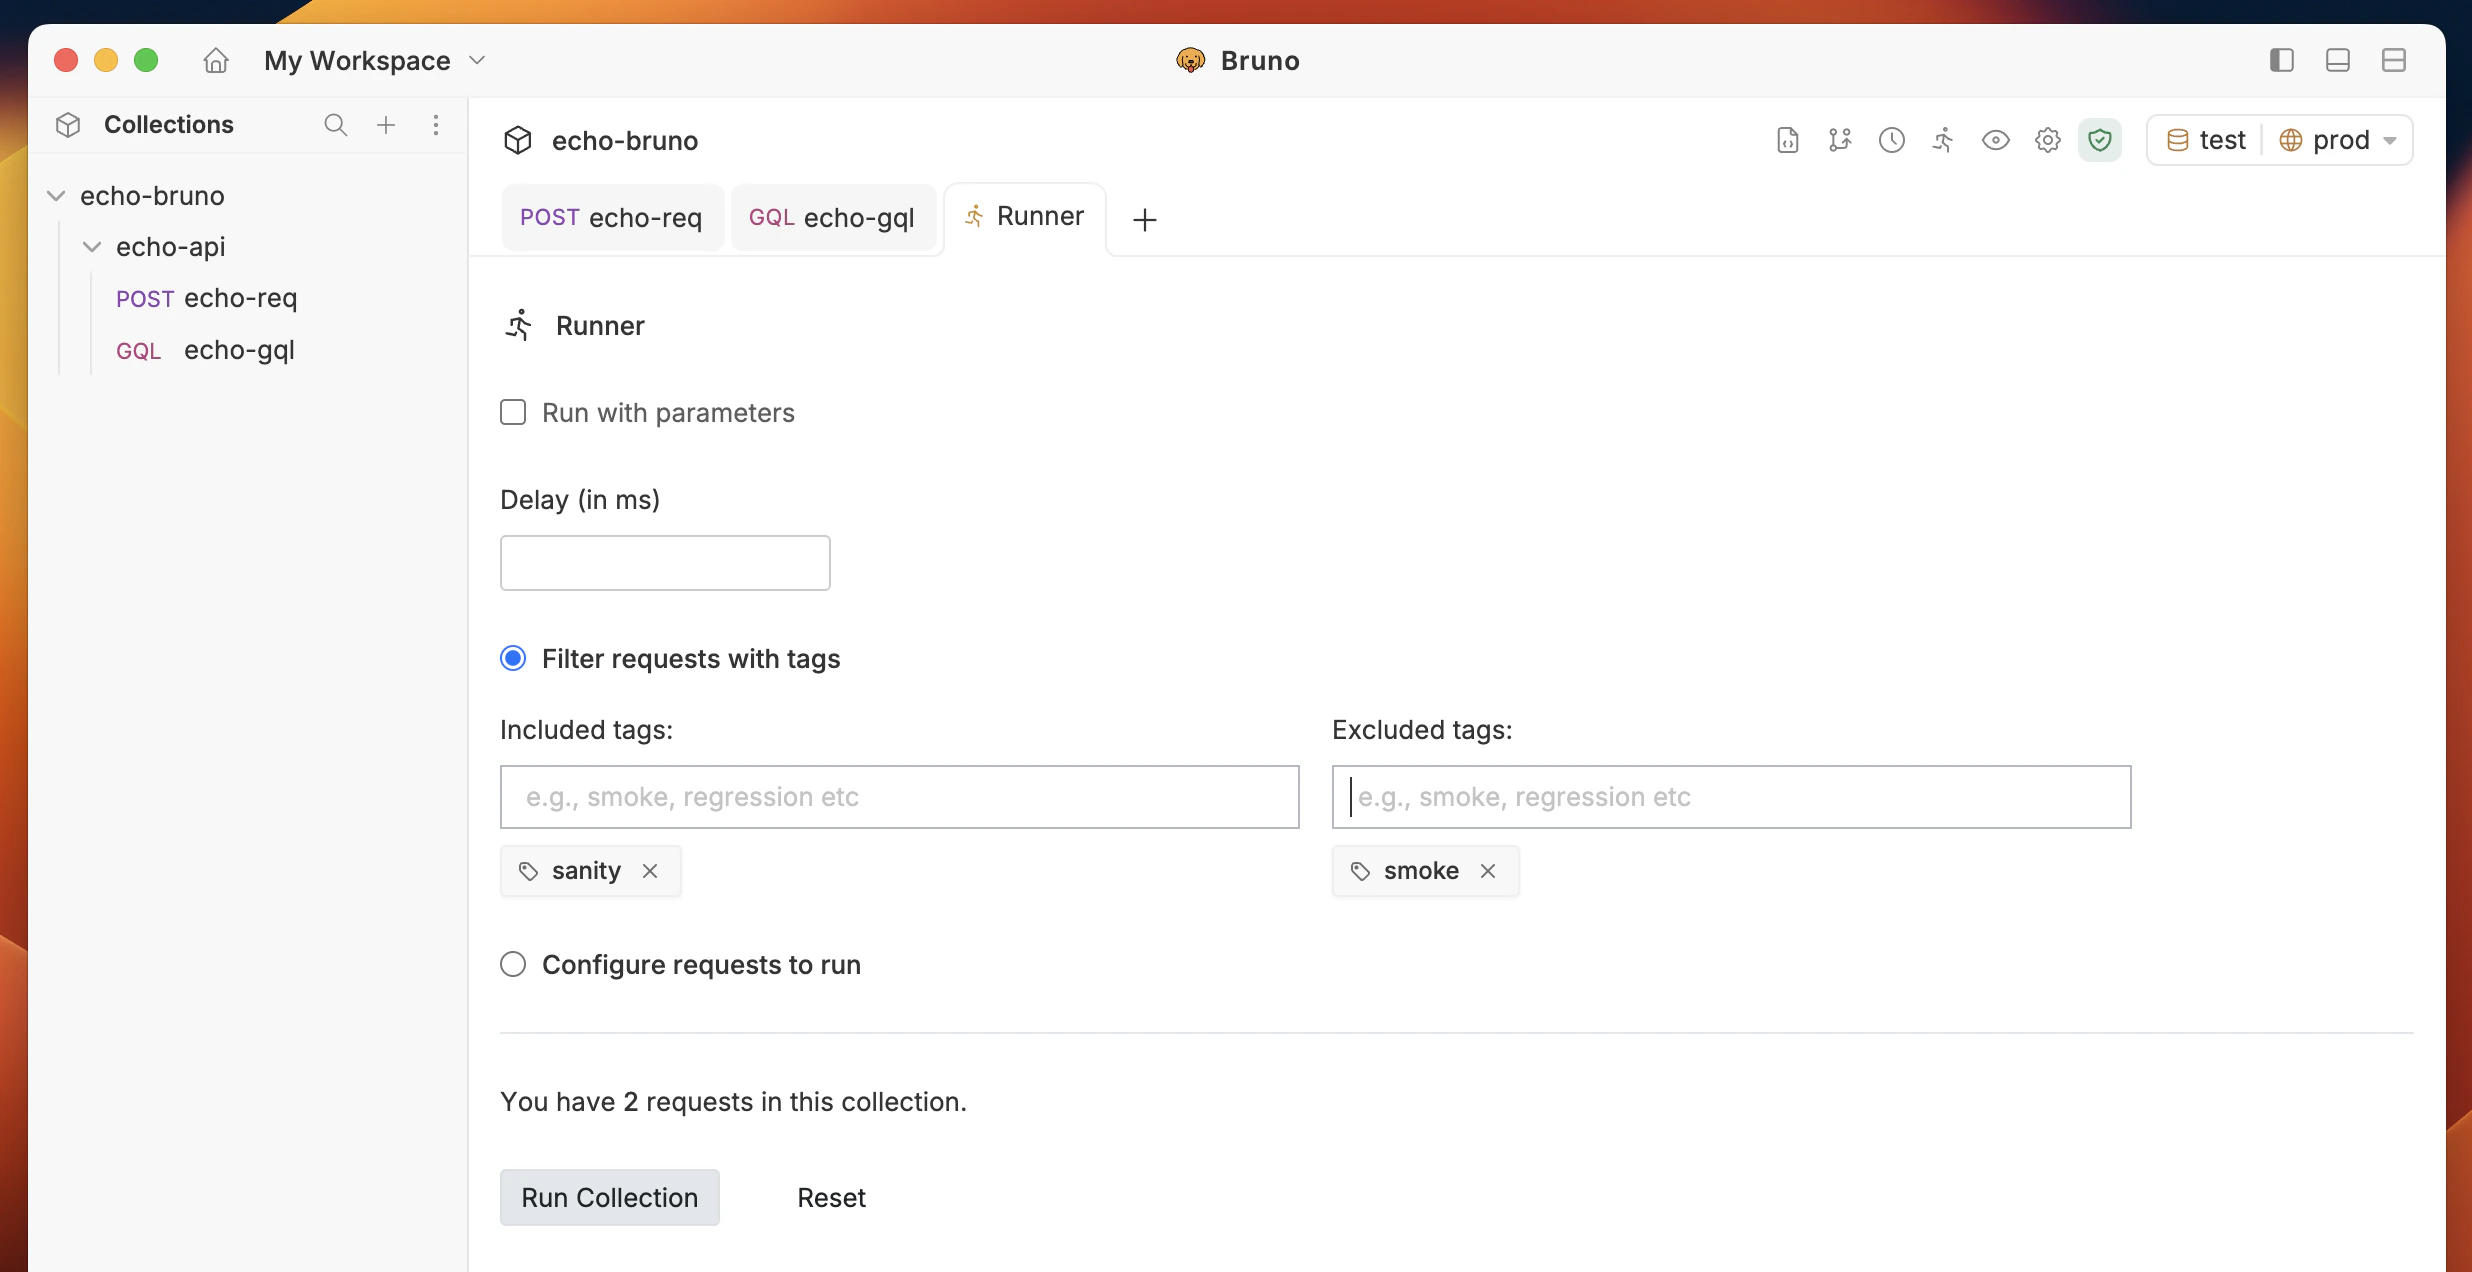
When you open the Collection Runner, you see a configuration view before starting the run. This view has two main areas: run settings on the left and request selection on the right.Timings
Under the Timings section, set the Delay between requests (ms) to add a pause between each request execution. This is useful when working with rate-limited APIs.Tag-based request filtering
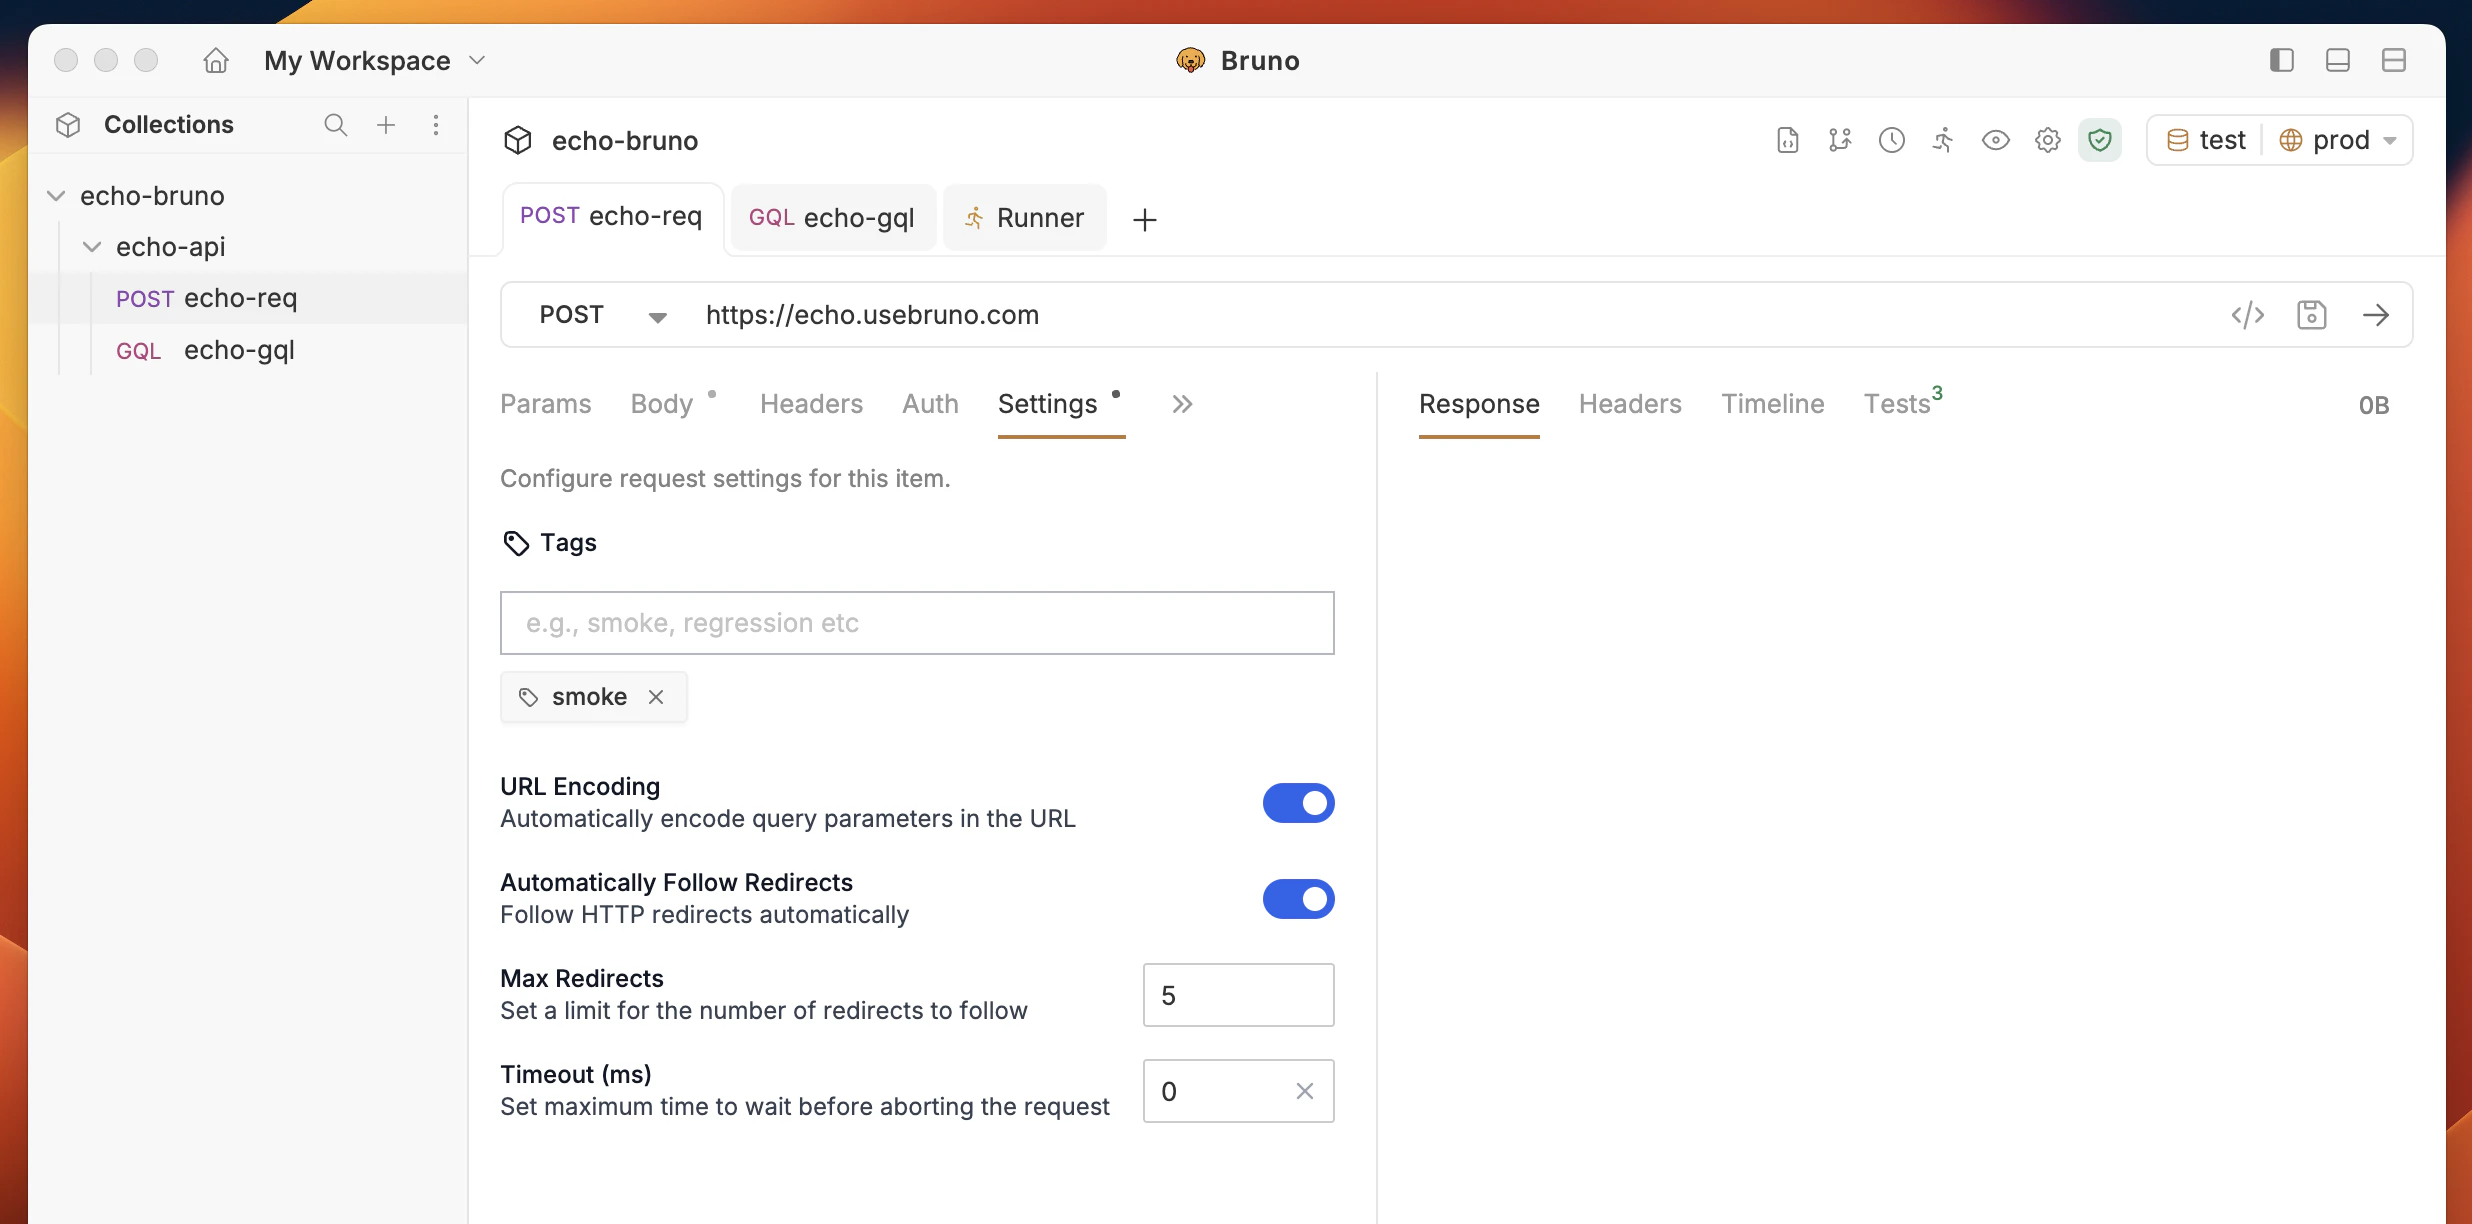
Under the Filters section, you can filter which requests to include or exclude by tag.- Add tags to your requests: go to a request’s settings tab and add tags to categorize it.
- Set include or exclude tags in the Filters section of the runner:
- Include tags — only requests that have the specified tags will be eligible to run.
- Exclude tags — requests that have the specified tags will be skipped.
- A tag cannot appear in both lists at the same time.
Request selection and ordering
The right side of the configuration view lists all requests in the collection. You can:- Select or deselect individual requests using checkboxes.
- Select All / Deselect All using the toggle at the top.
- Drag and drop requests to reorder the execution sequence.
- Reset the list to restore the original collection order and re-select all requests.
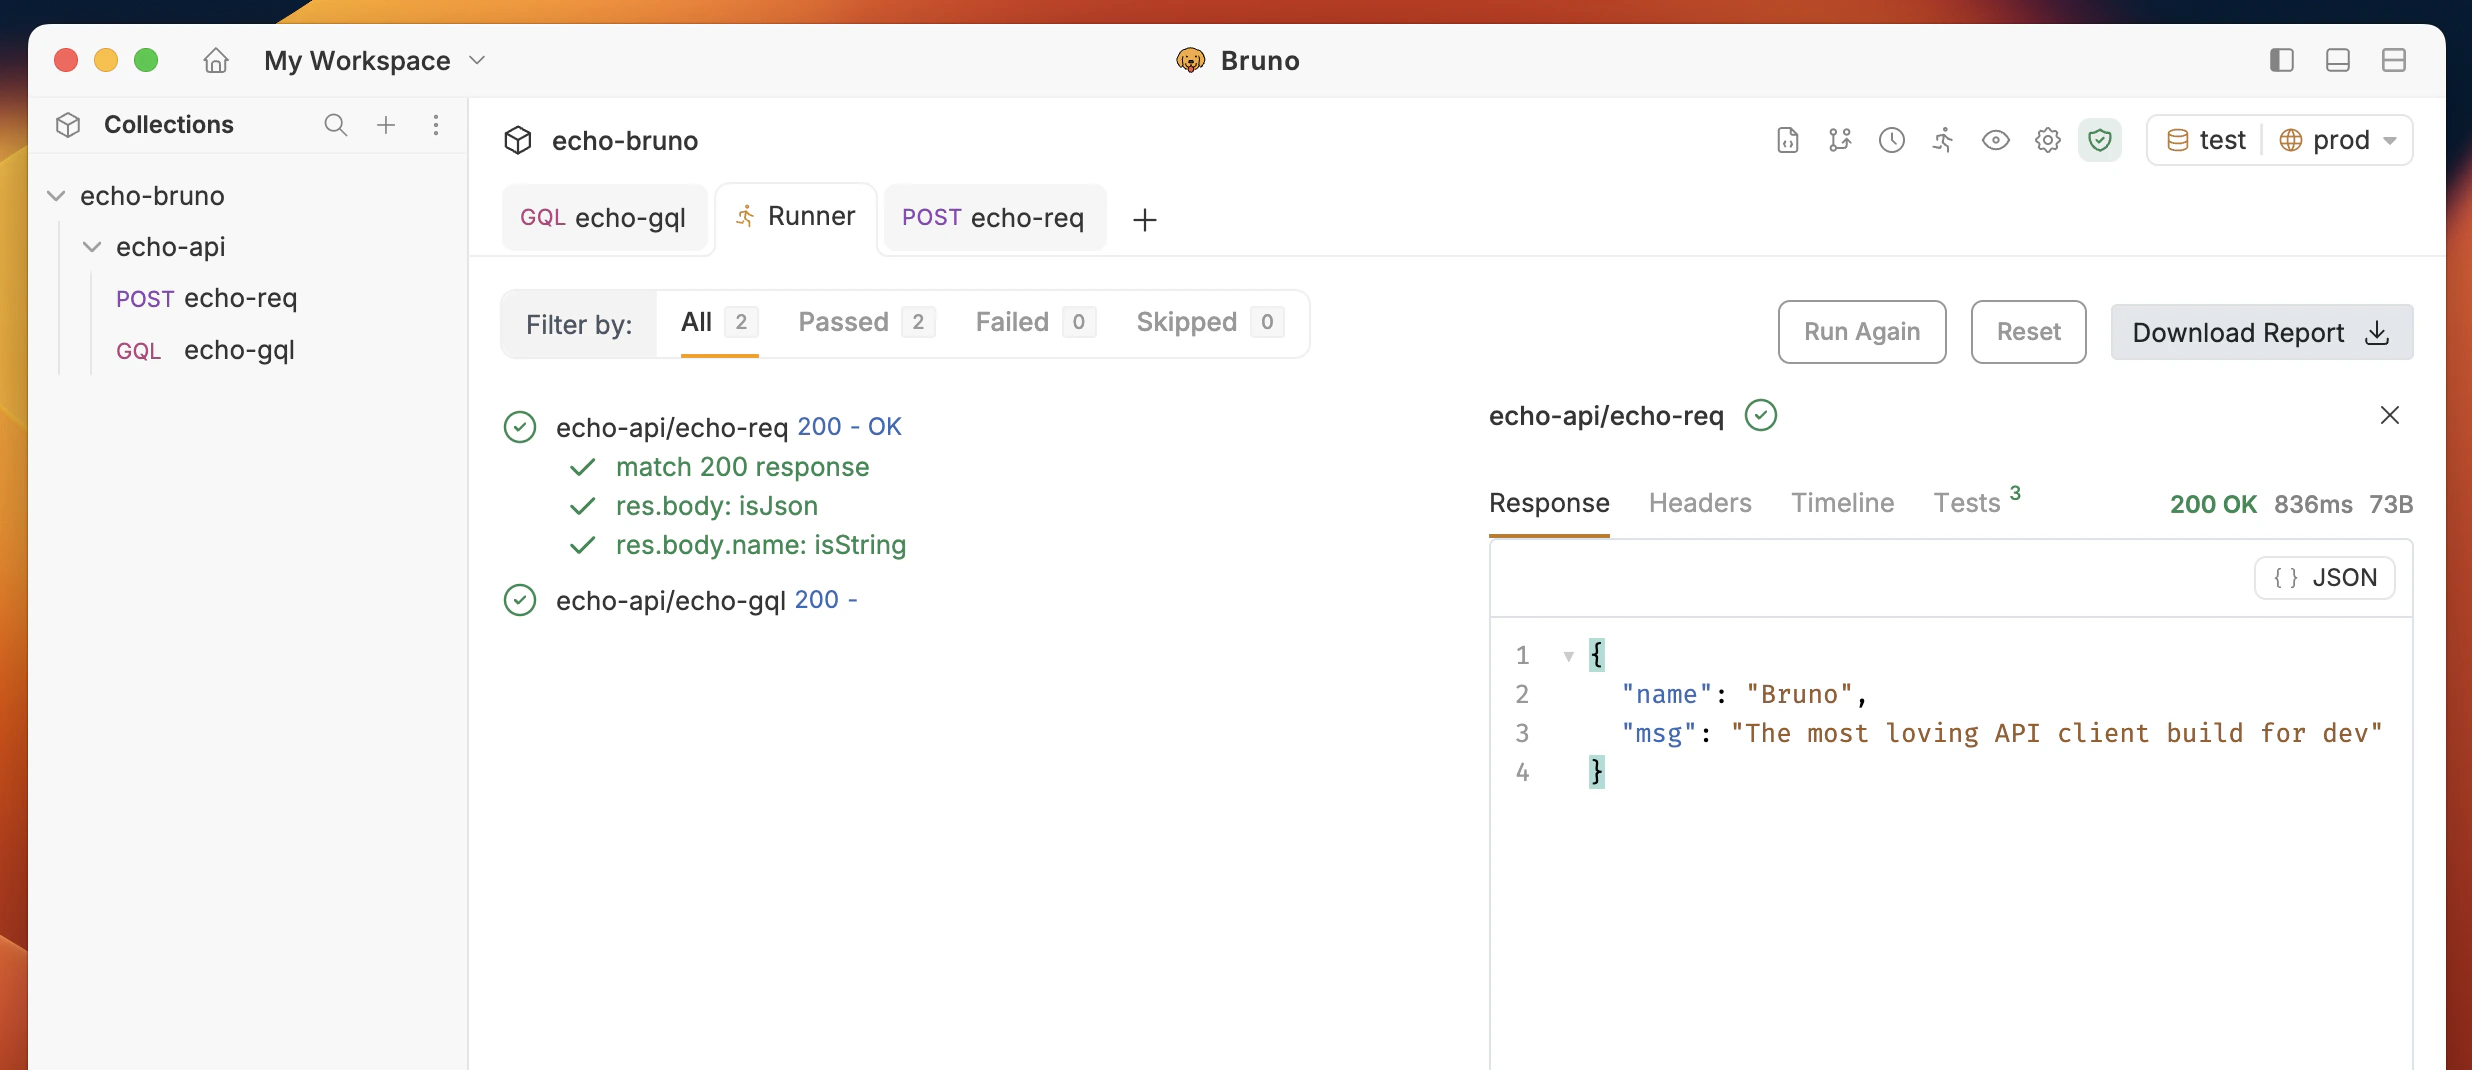
Filtering results
After a run completes, you can filter the results using the filter bar at the top of the results view:- All — shows every executed request.
- Passed — shows only requests where all tests and assertions passed.
- Failed — shows only requests where any test or assertion failed, or an error occurred.
- Skipped — shows only requests that were skipped during execution.
View Test Report
Once the report is downloaded, you can open thereport.html file in any web browser to review the detailed test results.